Do you need a tiny timer for an office/classroom escape puzzle? Maybe your bomb prop is missing another layer of suspense?
Timers are a critical part of every Room Escape on earth! I challenged myself to create a simple yet effective timer using just an Arduino. No need to use a dedicated computer/chromecast or run a secondary monitor. Maybe you wanted to create a meta puzzle with its own timer!?
Originally I was set on this being another beginner tutorial. However, I can't seem to find a screw terminal shield that has an ICSP header. (if you find one let me know) So, this project may require some soldering.
Special thanks to Evilusions for sponsoring this post & offering to build this * see below *

Skill Level : Beginner-Intermediate
Parts Needed:
- Arduino Uno ($21.95) - http://amzn.to/1KeInam
- SeedStudio TFT Touch Shield ($23.99) - http://amzn.to/20YuiSj
- Arduino Programmer ($4.99) - http://amzn.to/1Qb8jpI
- Push Button Station ($17.54) - http://amzn.to/1SVL8Rt
- optional - SD Card (if you want to use images) - http://amzn.to/2408HeM
Total cost: $68.47
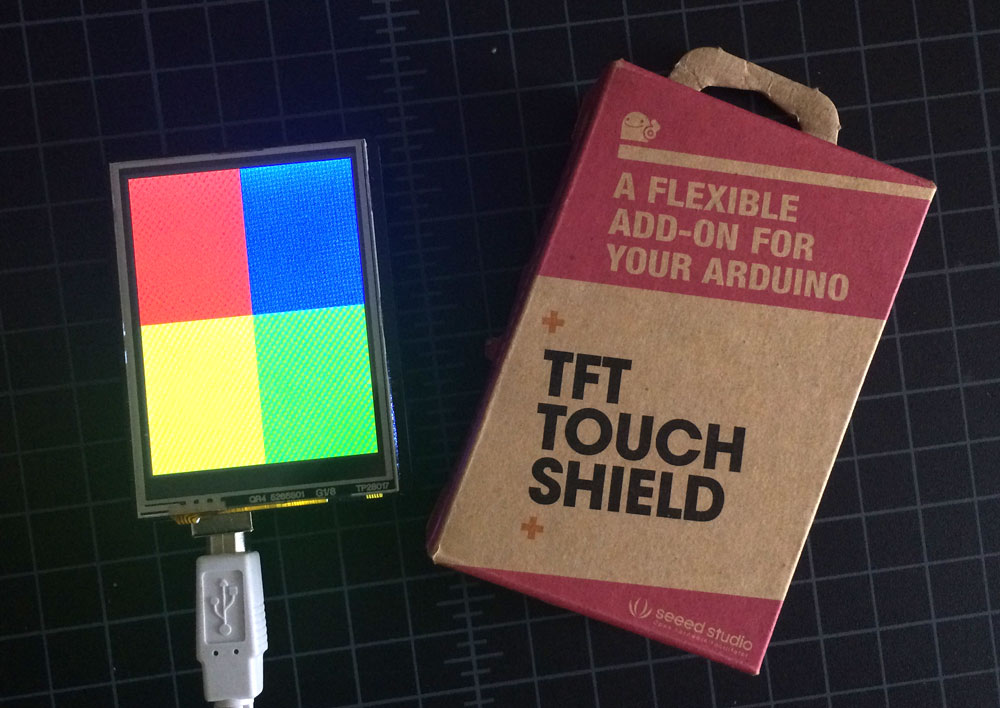
We will be using a TFT touch shield (but won't be using touch). If you're interested in more info on using touch & how it works see my past DIY here: (http://tomknabe.com/diy-escape-puzzle-arduino-touch-keypad/)
Step 1 - Wiring
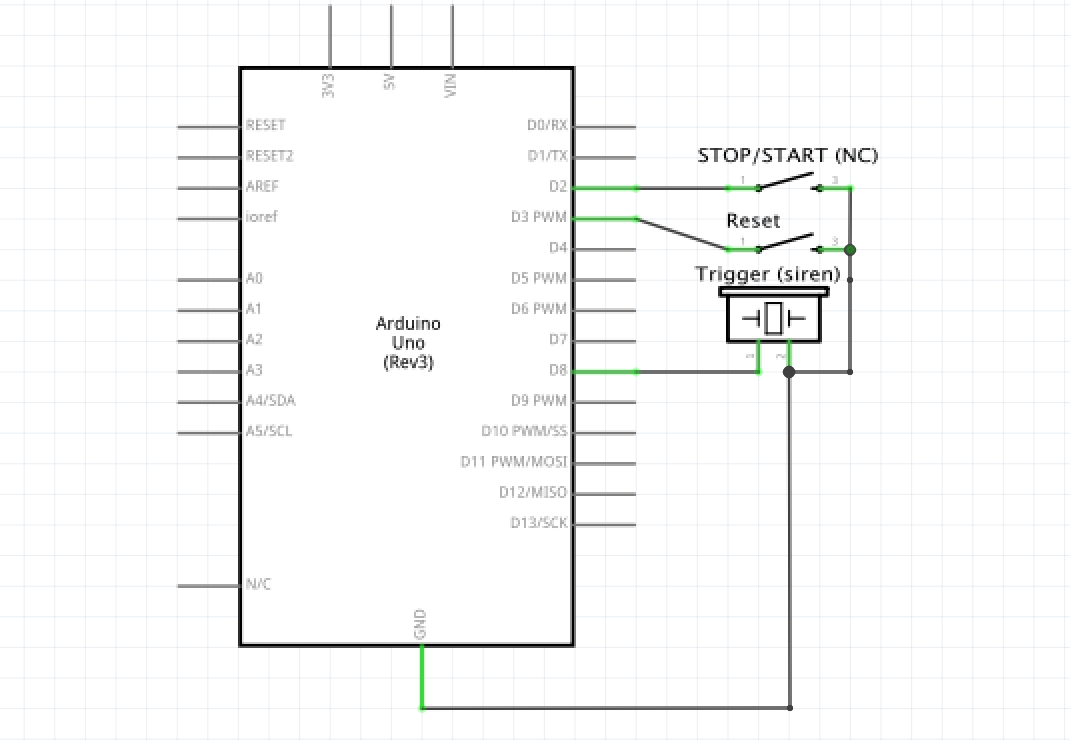
There are only 3 wires we need to connect to our push button station, plus one additional pin for our trigger (relay/siren/etc).
- Ground - Ground
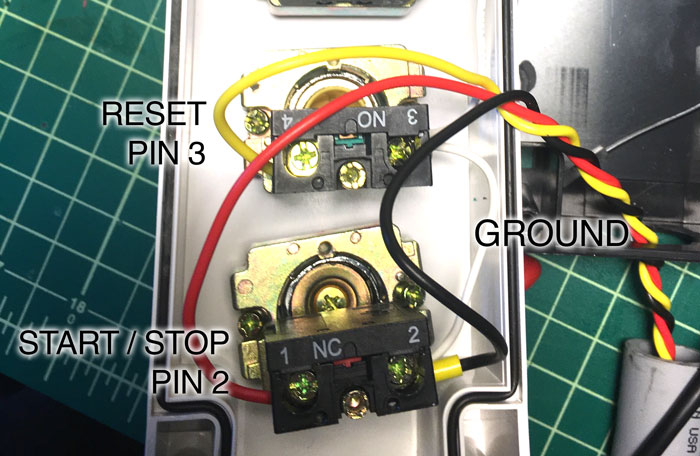
- D2 - Start/Stop (big red push button)
- D3 - Reset (yellow button)
- D8 - Trigger
Button Station
Arduino
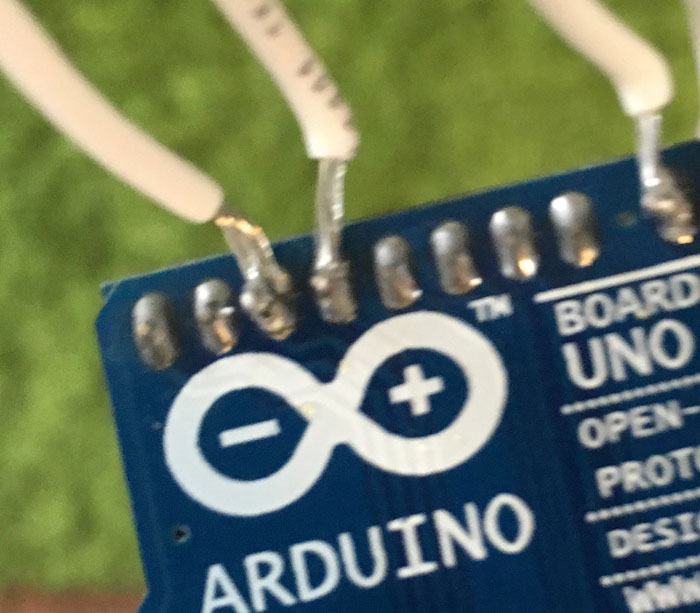
Finding a screw terminal shield with ICSP headers or just jumping the headers will make this significantly easier. Nevertheless, I did not take that approach and merely soldered my wirings to the underside of the Arduino (it's not pretty but it works).
Step 2 - Install Libraries.
In the Arduino software we need to install a few libraries. These libraries handle a lot of the heavy lifting like enabling the correct pins for the shield.
Download & unzip the following library:
- TFT Touch Shield Library - https://github.com/Seeed-Studio/TFTTouchShield_V2/archive/master.zip
Find the directory into which the Arduino IDE and supporting files have been installed. This may be '/usr/local/arduino' or '/usr/share/arduino' or one of many OTHER possible choices depending on your operating system. (mine was in User/{computer name}/Documents/arduino )
Still confused? Read more here: https://learn.adafruit.com/adafruit-all-about-arduino-libraries-install-use/arduino-libraries
Step 3 - Code
Copy the following code & upload it onto your UNO.
//include libraries
#include <TFTv2.h>
#include <SPI.h>


//Start and end time (do not format ie 03)
int storedSeconds = 0;
int storedMinutes = 5;

int stopPin = 2;
int resetPin = 3;
int triggerPin = 9;

//this stores last time millis was fired (second time keeping)
unsigned long time;


//running seconds (do not change)
int seconds = storedSeconds;
int minutes = storedMinutes;

//store the last time value to check if we should write to screen more efficiently
int lastSeconds = seconds;
int lastMinutes = minutes;


//number buffer for formatting
char minbuf[3];
char secbuf[3];

void setup(void) {
  pinMode(stopPin,INPUT_PULLUP);
  pinMode(resetPin,INPUT_PULLUP);
  pinMode(triggerPin,OUTPUT);

  time = millis(); //Start internal countdown

  TFT_BL_ON;      // turn on the background light
  Tft.TFTinit();  // init TFT library
  defaultScreen(); //load default screen
}

void loop(void) {

  //Stop the timer when stop is pressed
  if(digitalRead(stopPin)==HIGH){
    time = millis();
  }

  //reset timer
  if(digitalRead(resetPin)==LOW){
    resetTimer();
    digitalWrite(triggerPin, LOW);
  }

  //Every second render the timer
  if((millis()-time)>= 1000){
    checkTime();
  }
}


//Check if time has reached 0
void checkTime(){
  if(!(seconds == 0 && minutes == 0)){
    renderTime();
  } else {
     fail(); //time is zero, do something
  }
}

void renderTime(){
    time = millis(); //reset internal second countdown

    //when seconds reach 0 subtract from minutes
    if(seconds == 0 && minutes != 0){
      seconds = 60;
      minutes--;
     }
     seconds--;

     //only paint over seconds if there is a change in second
     if(lastSeconds != seconds){
        Tft.fillRectangle(130, 130, 110, 65, BLACK); //paint a black square over past seconds
      }
      //only paint over minutes if there is a change in minute
     if(lastMinutes != minutes){
        Tft.fillRectangle(5, 130, 110, 65, BLACK); //paint a black square over past minutes
      }
     sprintf(secbuf,"%02d",seconds); //using sprintf to format our time correctly (ie 01 instead of just 1)
     sprintf(minbuf,"%02d",minutes);
     Tft.drawString(minbuf, 5, 130, 8.5, WHITE); //line 2 text
     Tft.drawString(secbuf, 130, 130, 8.5, WHITE); //line 2 text
     lastSeconds = seconds;
     lastMinutes = minutes;
}

void fail(){
    digitalWrite(triggerPin, HIGH);
  }

//reset the timer
void resetTimer(){
  seconds = storedSeconds;
  minutes = storedMinutes;
  checkTime();
}

//What's on the screen
void defaultScreen() {
  Tft.fillScreen();
  Tft.drawString(":", 97, 130, 8, WHITE); //line 2 text
  Tft.drawString("TIME", 5, 10, 9, WHITE); //line 2 text
  Tft.drawString("REMAINING", 5, 90, 4, WHITE); //line 2 text
}
That's it!
How do I change the time?
Change the storedSeconds & storeMinutes variable.
Example:
int storedSeconds = 30; //30 seconds
int storedMinutes = 60; //60 minutes
*Reminder: do not format/pad your time ie int storedSeconds = 05
Can You just build me one?
Want to purchase this pre made, or customized. The guys over @ http://evilusions.com/ will be happy to help you!
Can I add another trigger to Start/Stop? Can I add additional buttons?
Totally! There are a ton of pins still available.
Arduino pins not used:
- D0
- D1
- D9
- D10
- A4
- A5
I added my own start/stop button & it's not working.
With the button station linked above, the Start/Stop button is a NC (Normally Closed) circuit, which is inverted to what most buttons are (NO).
change
  //Stop the timer when stop is pressed
  if(digitalRead(stopPin)==HIGH){
to
  //Stop the timer when stop is pressed
  if(digitalRead(stopPin)==LOW){
How do I add images?
See this article: Seed Studio TFT Display Images from the SD Card
Documentation
There is plenty more you can do with the TFT! Read the documentation here.
Like the TFT Shield? See my previous DIY http://tomknabe.com/diy-escape-puzzle-arduino-touch-keypad/ and stay tuned for more posts!
More questions or requests? Comment below!
Tags: arduino, escape room, puzzle, diy, tutorial